Add a footer with a button
In this step, you add a footer bar with a button to update data displayed in your application.
Prerequisites
-
You have done the first configuration of your application.
-
You have integrated data from an API.
Procedure
-
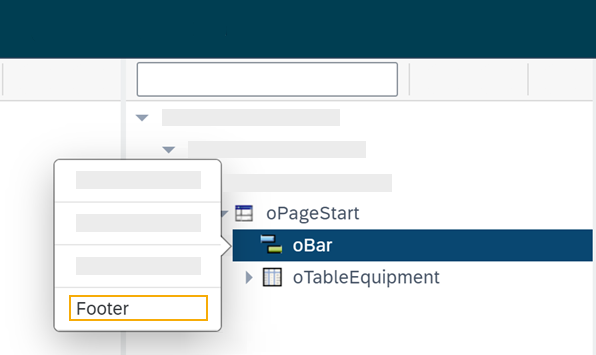
On the component library, open sap.m > Application and drag and drop the Bar component onto Page in the application tree.
-
From the pop-up menu that opens when you drop the component, select setFooter.

-
On the component library, open sap.m > Application and drag and drop the BarContent component onto BarFooter in the application tree.
-
From the pop-up menu that opens when you drop the component, select Middle.
-
On the component library, open sap.m > Simple Controls and drag and drop the Button component onto Middle in the application tree.
-
On the properties pane, open the Properties tab.
-
In text, enter
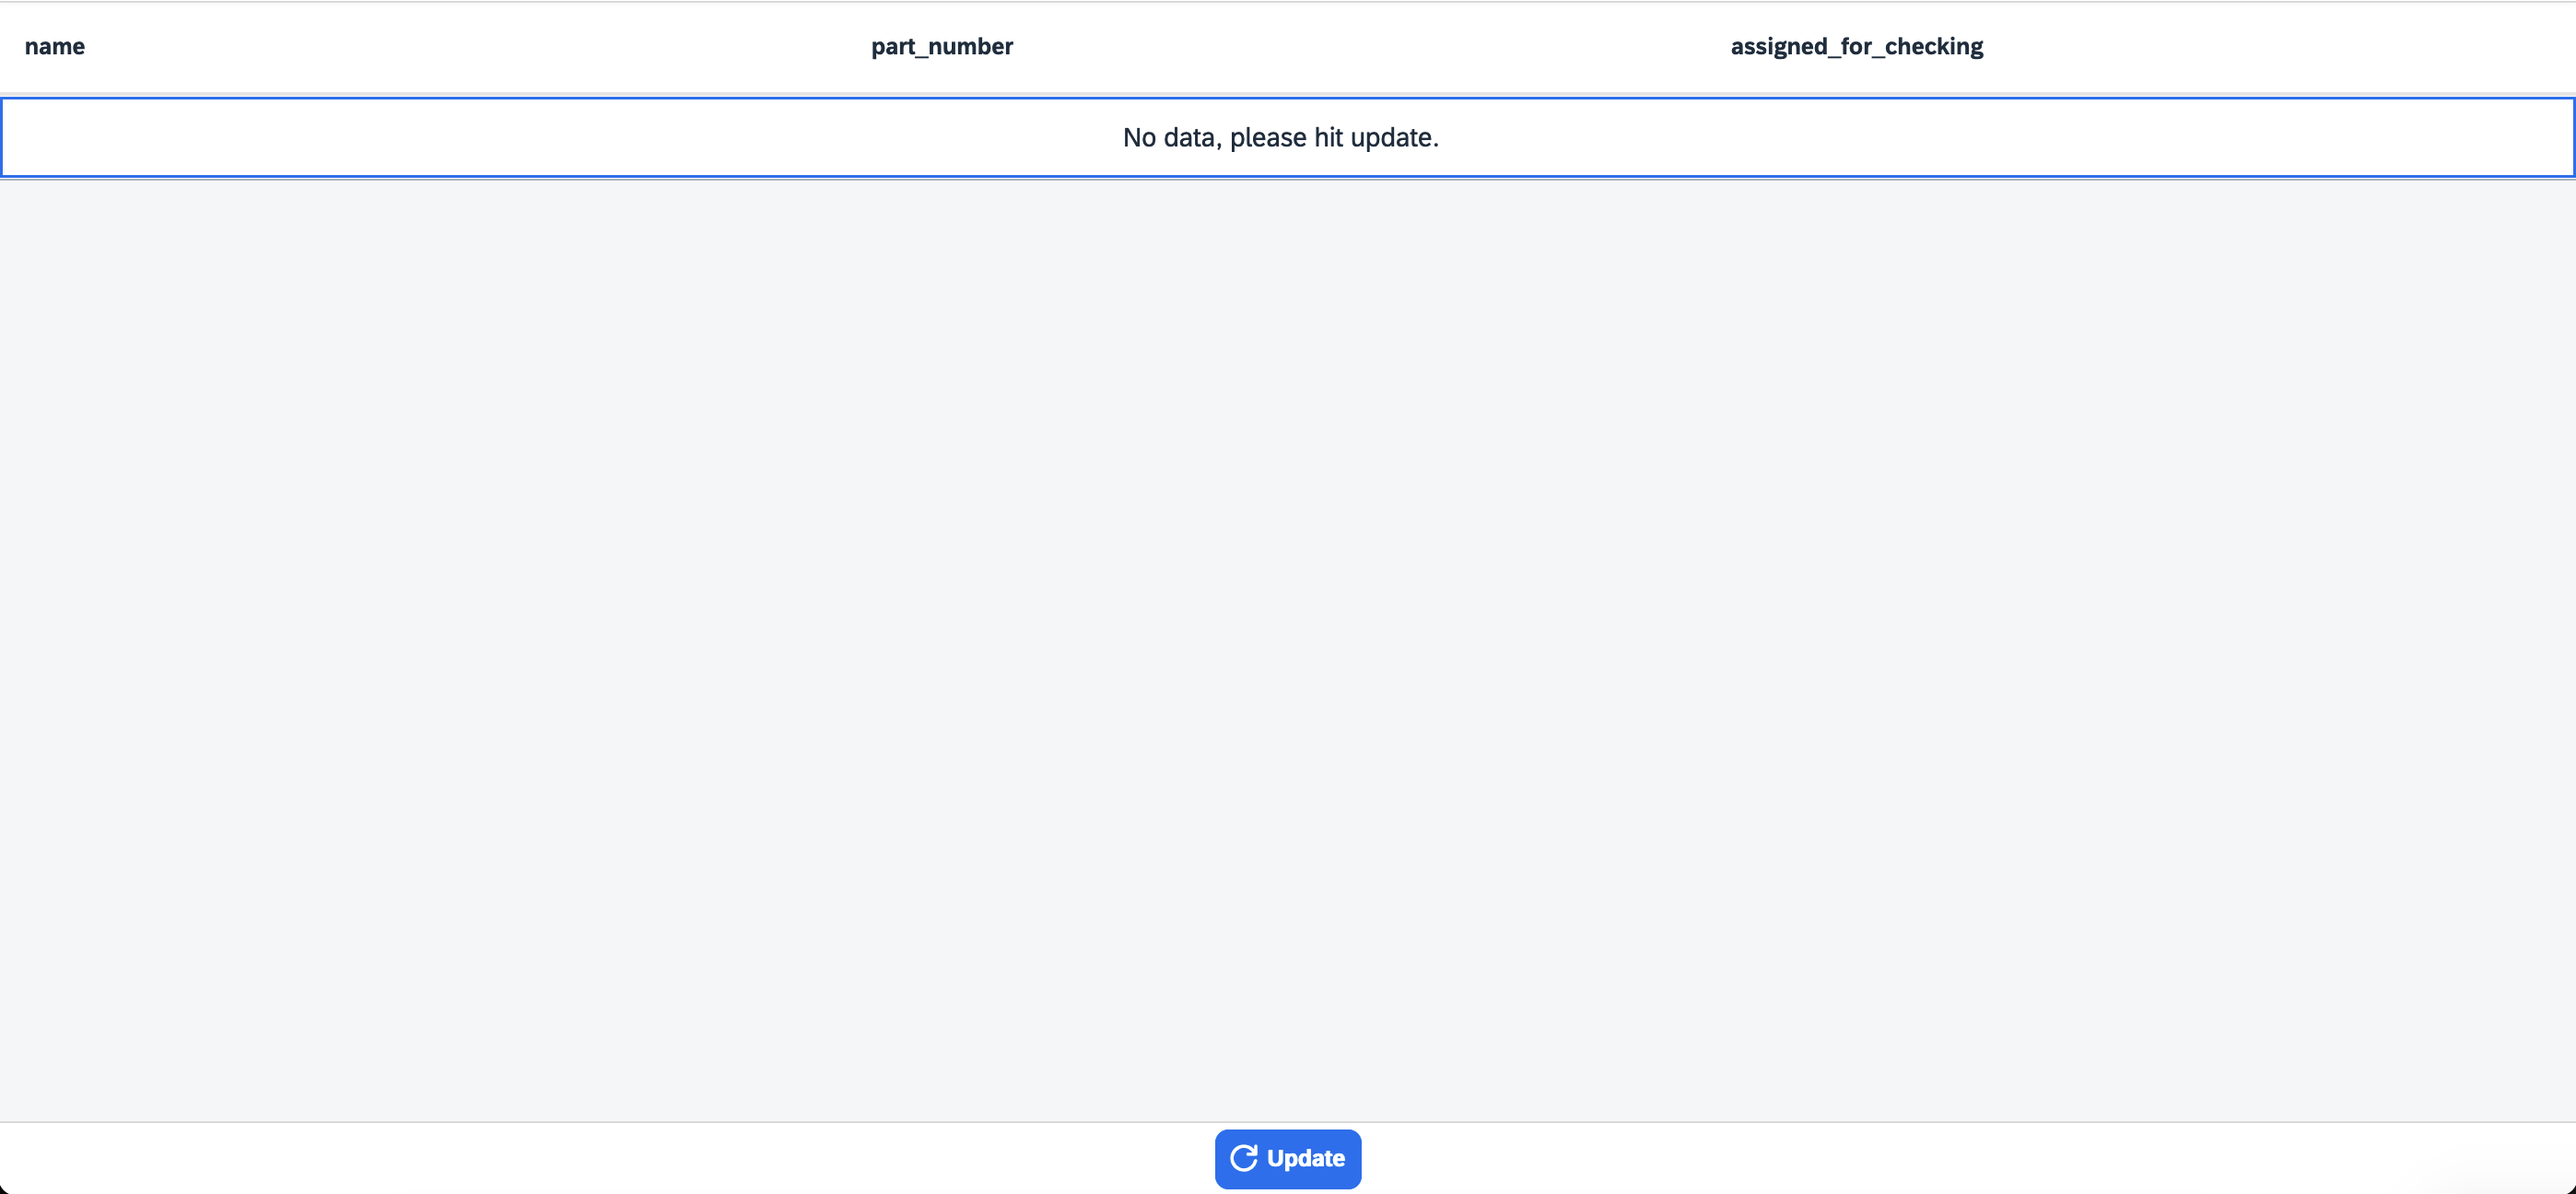
Updateand in type, select Emphasized from the list.Result: You have added a footer with a button to update the table. Now you add functionality to the button so that the button makes the API call rather than the table itself.
-
On the application tree, select oRestAPI.
-
In the Attributes tab on the properties pane, click into the setInitLoad field in Model and select Clear. This is because we want to trigger the API when we select the button to fetch the latest data.
-
On the application tree pane, select Button.
-
On the properties pane, open the Events > press and select JavaScript.
Result: On the preview pane, the JavaScript editor opens.
-
In the JavaScript editor, right-click and select Code Snippets.
-
On the side menu of the Code Snippets window, open API, select RestAPI, and select Copy.
The generated code snippet will provide you with parameters to use for querying the data. For fetching all the data do the following:
apiRestAPI(); -
On the shell bar, select Save and Activate.
-
Run a preview in a new browser tab or in the App Designer.
-
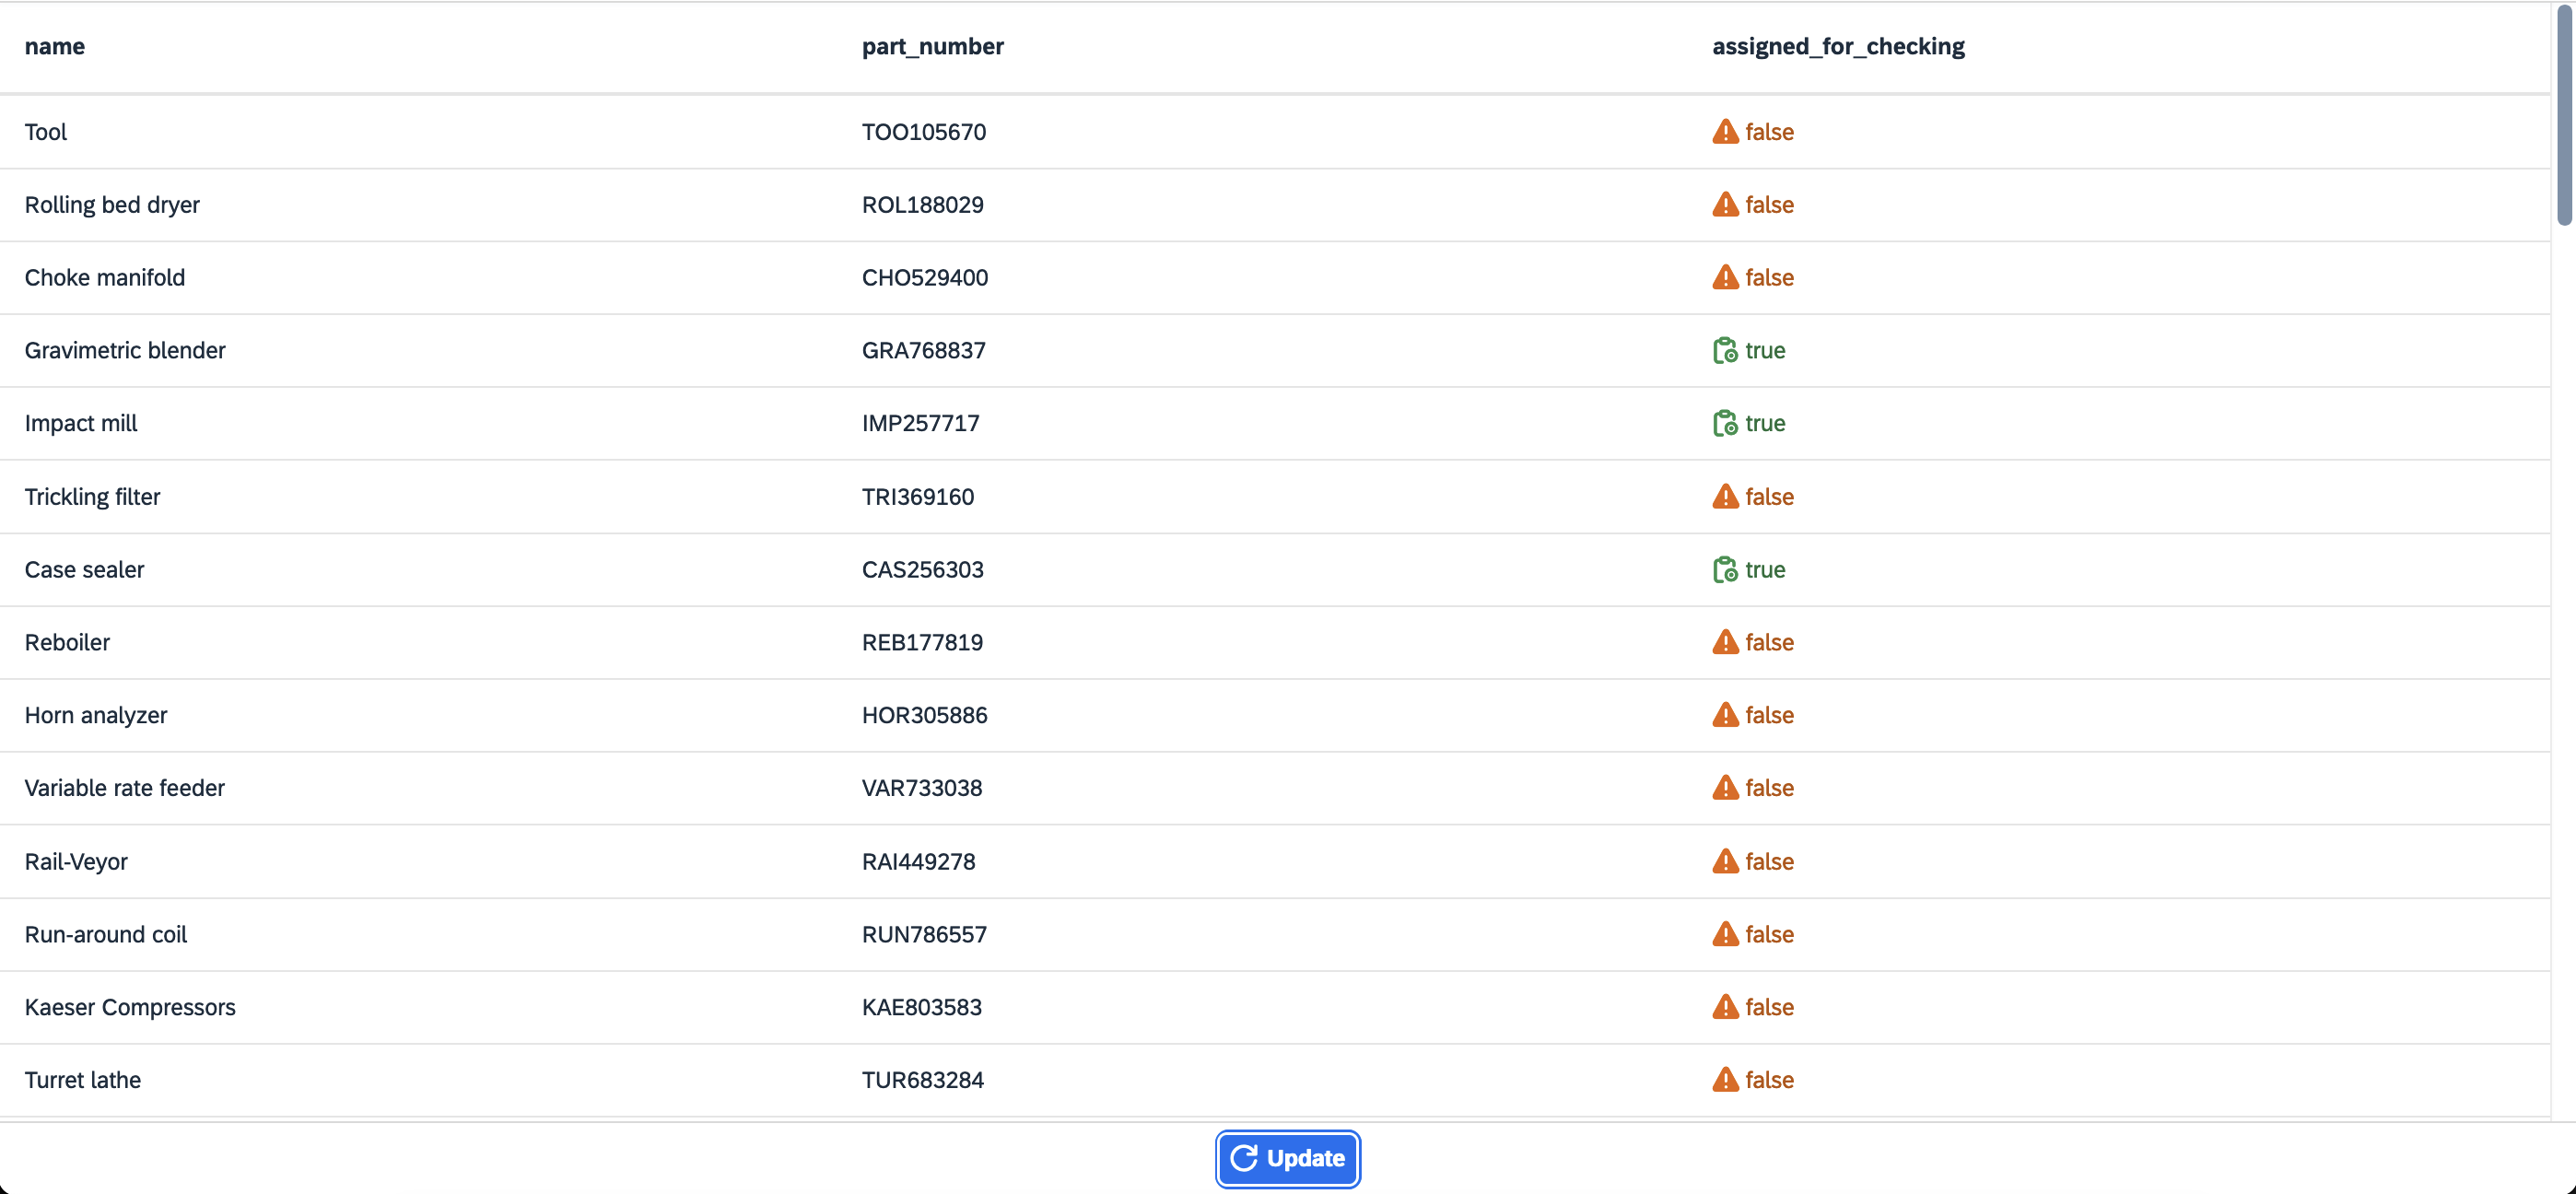
In the preview, select Update to show data in your table.

