Documentation
Product documentation for your Neptune applications can be created very easily and conveniently using the Documentation application.
General
Find and choose the desired application and you are already good underway.
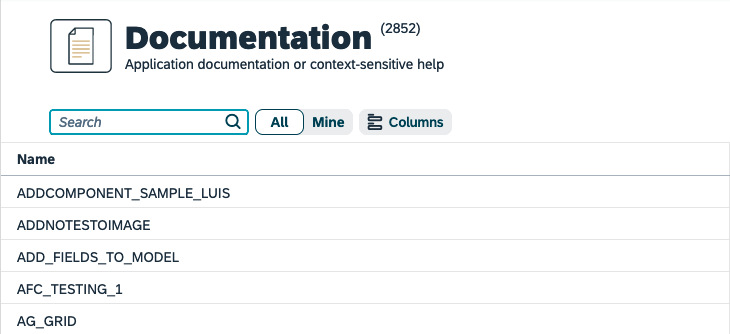
Documentation has to be activated on the tile settings. Go to the tile that opens the application and enable user assistance.

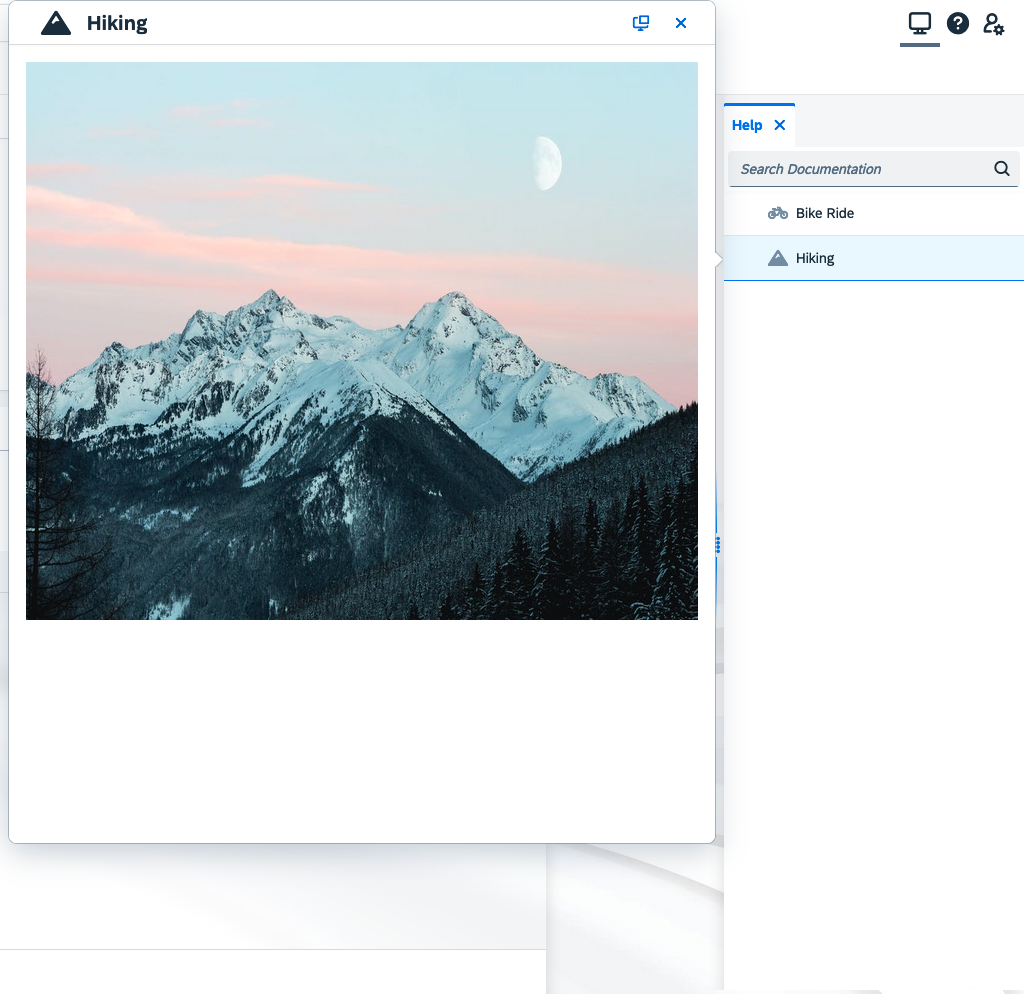
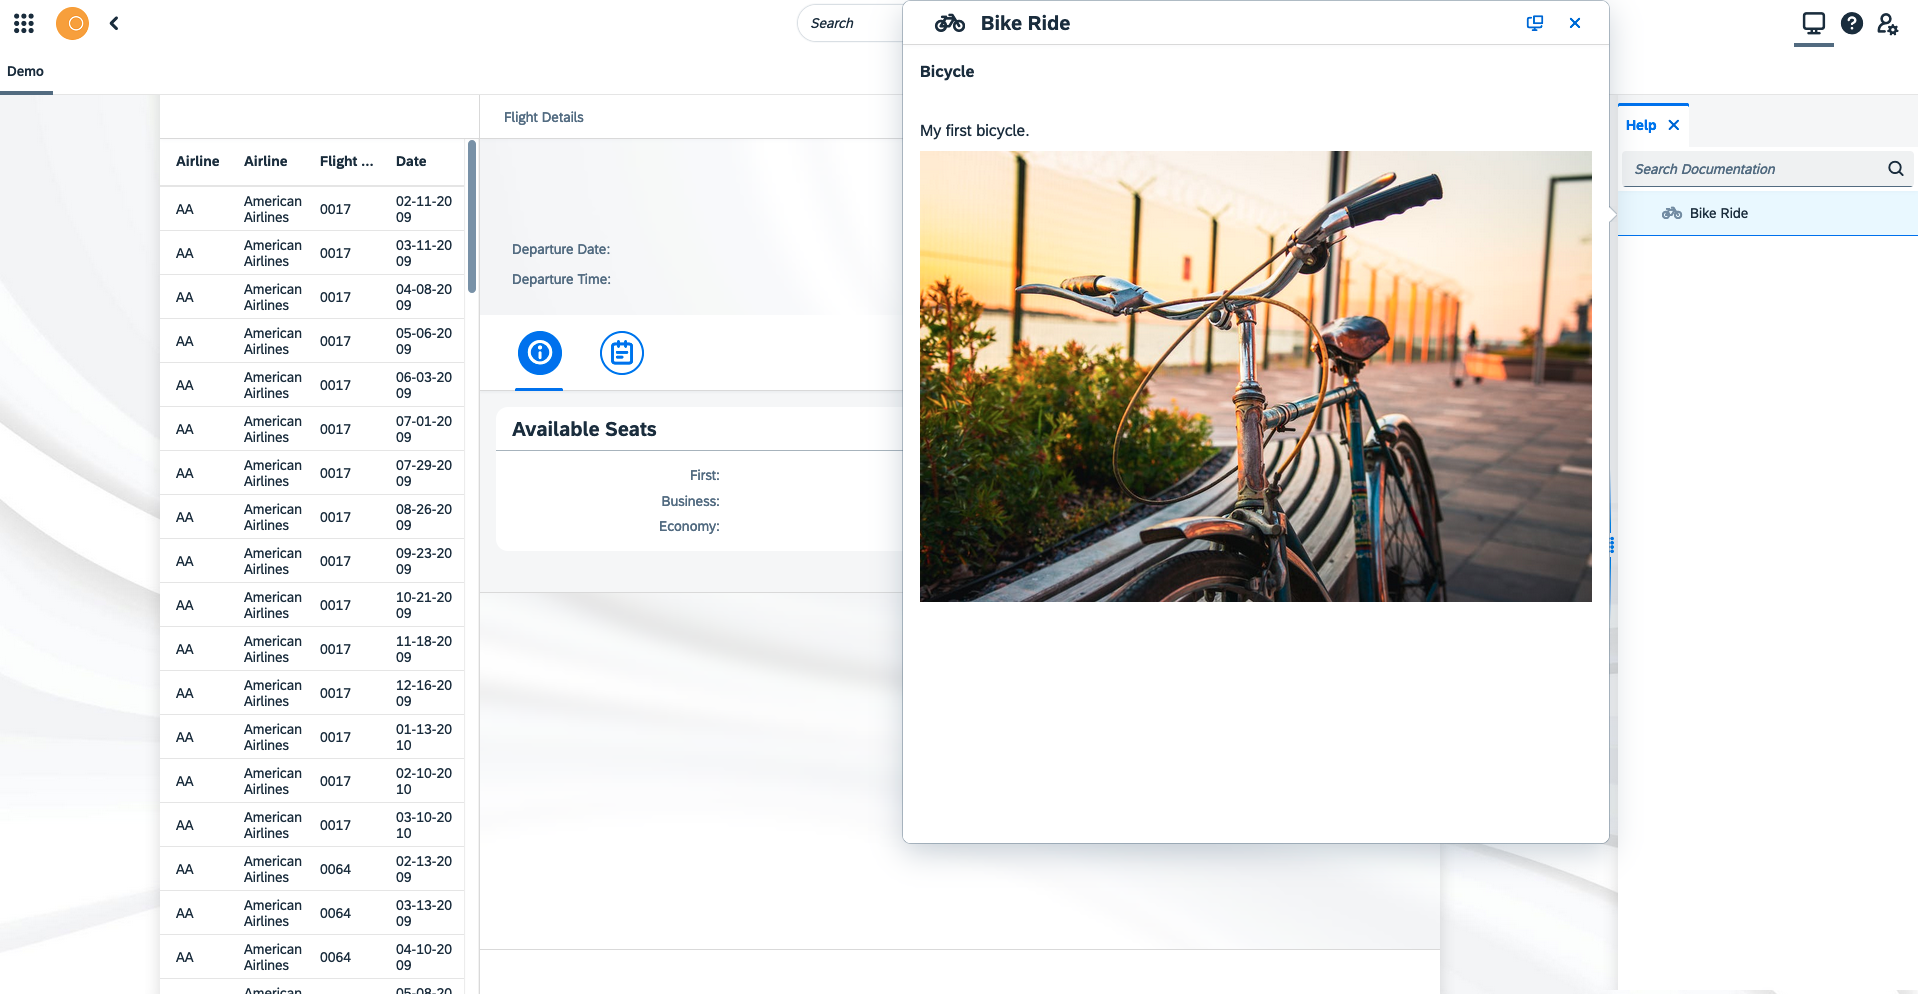
Created documents will be shown in the launchpad next to the application when the user clicks the help button.
You can add a default language in the settings. This language will be used as a default when you create new documents.

Add Documentation
Press the Add button to add a new document in edit mode.
Add a title to the document
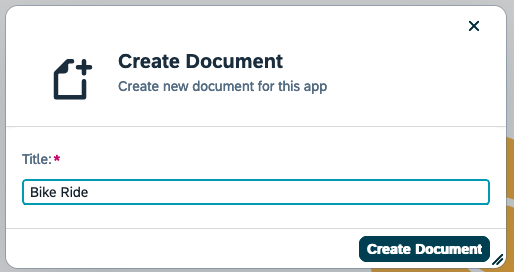
Your document is created and added to the document list. Now you have to add information and documentation. By default, documentation will be shown in a dialog box 706x800px, you can change this if you need.
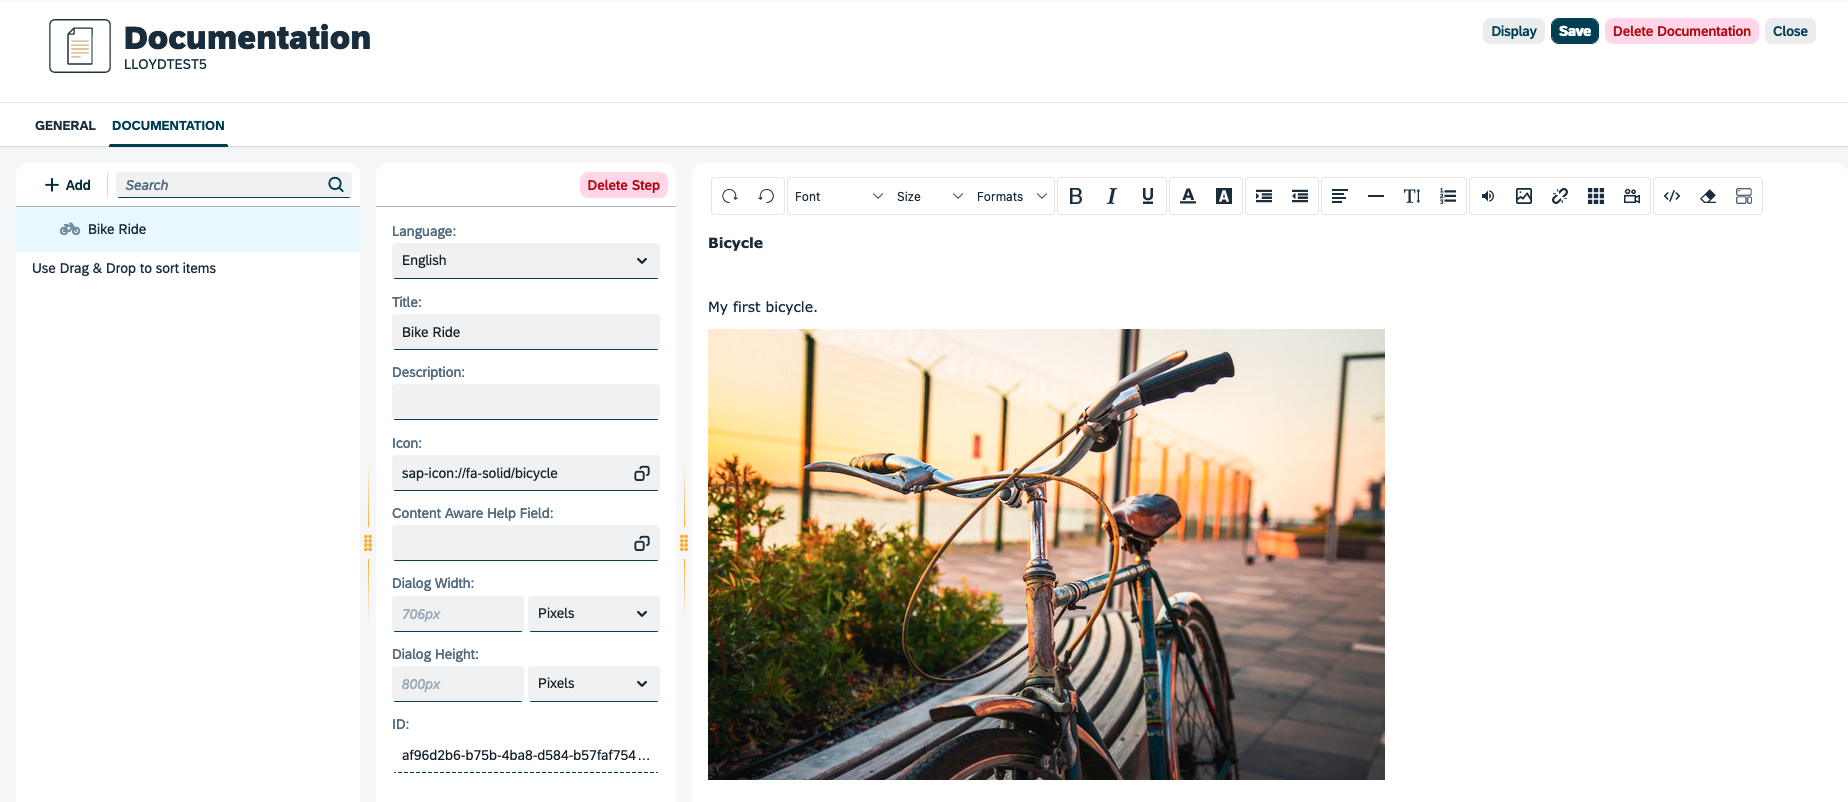
Next, to the settings panel, you’ll find the document editor. Add meaningful documentation that describes your app.
Open a launchpad that includes a tile group/tile that opens the application. If documentation has to be activated on the tile settings, the user can click the help icon in the top right corner. Your newly created help document is now visible there.

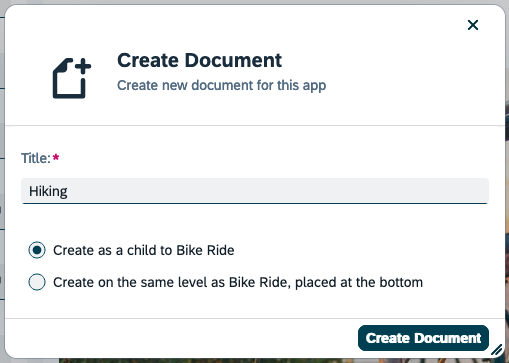
When you add document #2, you have to choose if the document should be a child of the selected document or added below on the same level.
When you save the document, it will be available to use.
