OpenID Authentication with Google
In this guide, you will learn how to authenticate yourself with Google.
Generate OAuth 2.0 Client IDs
-
In your Project head to API & Services > Credentials
-
Click CREATE CREDENTIALS and select OAuth Client ID
-
Give it name
-
At Authorized JavaScript origins, add your URIs. This is your instance’s complete URL. For example,
https://my-enviroment.neptune-software.cloud -
At Authorized redirect URIs, add the following:
https://my-enviroment.neptune-software.cloud/public/oidc_redirect.html -
Copy the following:
-
Client ID
-
Client secret
-
Authorized redirect URI
These will be used in the next step.
-
Configure your authentication OpenID provider in System Settings
-
Add a new authentication and choose OpenID
-
Enable Active and Show on login page to have the authentication active and available in the login options.
-
Add a meaningful Name,Description and Path.
Once the path is added, a folder will be created containing all OpenID information. -
Paste the Client ID and Client secret.
-
At Discovery URI paste
https://accounts.google.com/.well-known/openid-configuration.-
At Redirect Url paste the previously copied Redirect Url.
-
-
At After Login Redirect Url paste
https://my-enviroment.neptune-software.cloud/cockpit. -
At Login Scopes add
email openid profile. You can always add more or other scopes. -
At Token Endpoint Authentication Method choose Client Secret Post
-
-
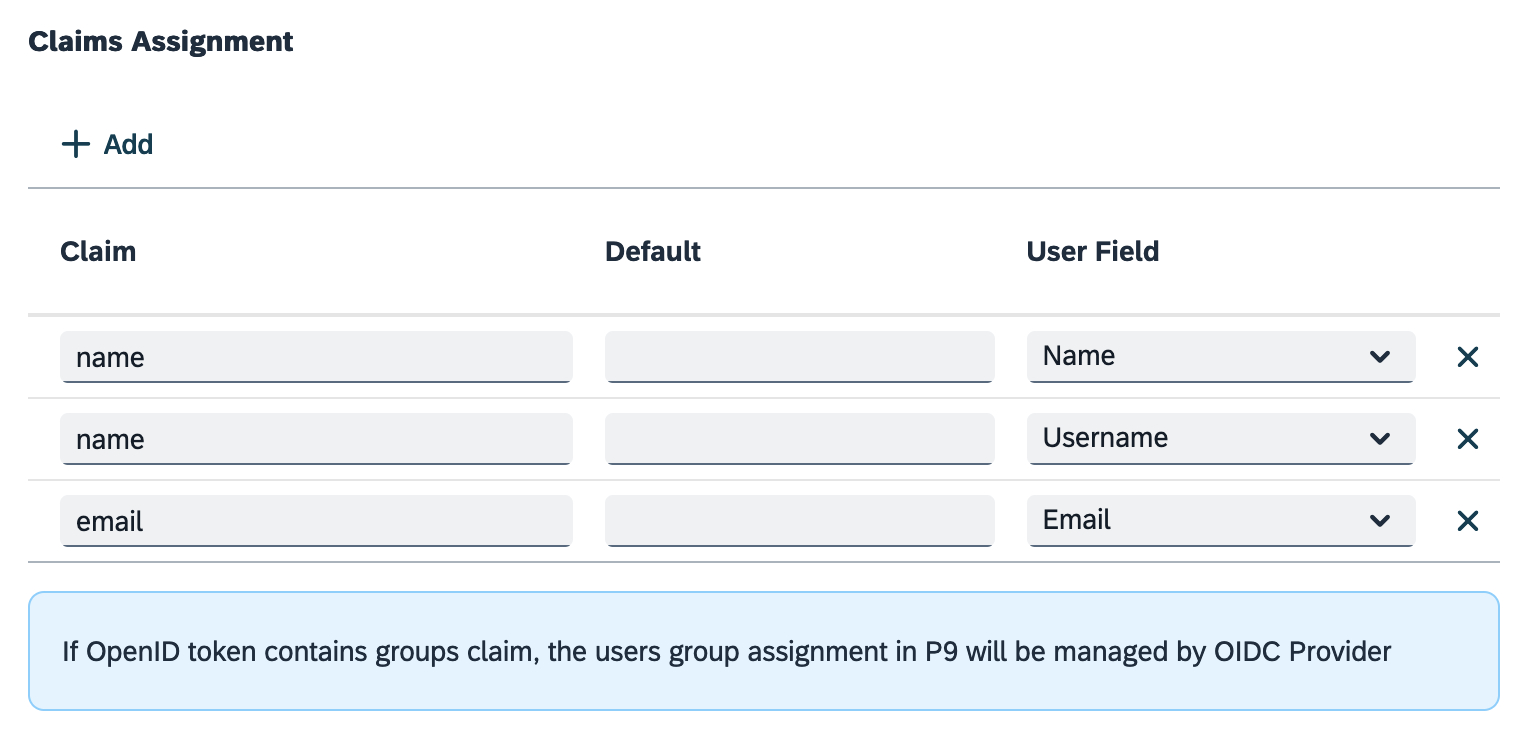
Add your Claims Assignments. For example:

-
If required, in Auto Assignment, assign roles and groups that you have defined in the Role and Security Group tools in the Cockpit. ..Enable Only assign on first login to assign the claims, roles and department only on the first login.
-
Press OK
-
Save and Restart the server to apply the changes.