iOS Guide
The goal of this documentation is to provide you a guide on how to use Cordova CLI to package iOS Mobile applications.
Prerequisites
A Mac with the following software installed:
-
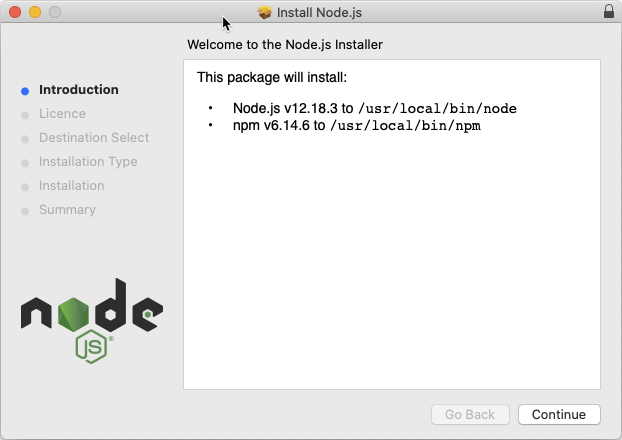
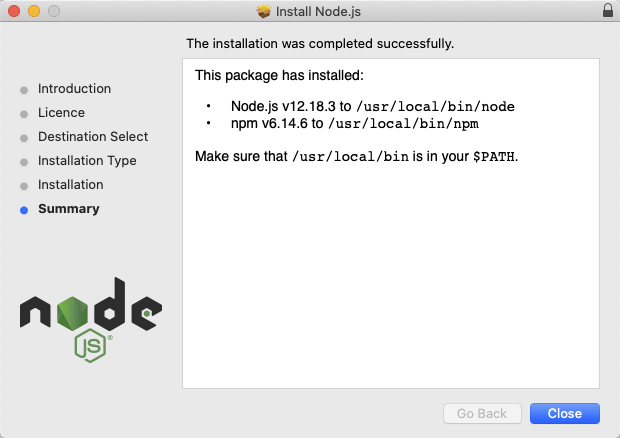
node.js with Node Package Manager (npm).
-
Homebrew
-
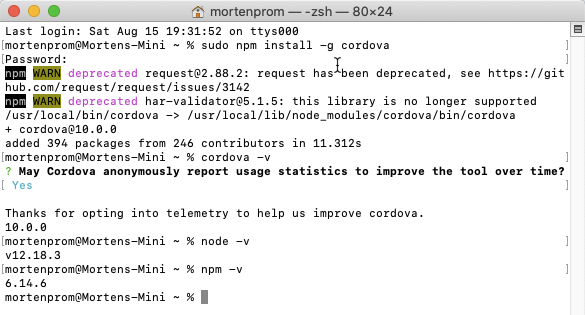
Cordova CLI
-
Xcode with Xcode Command Line Tools
-
iOS Deploy Tools
Developer or Enterprise certificate with provisioning profile from your Apple Developer Account.
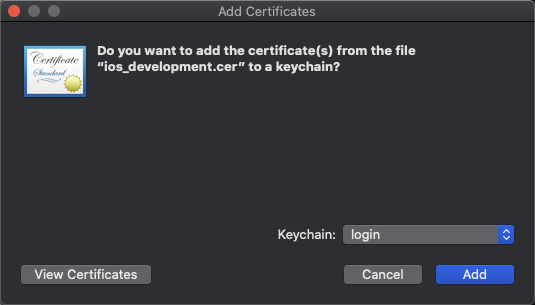
Install Apple .p12 certificate
Download certificate and provisioning profile from your Apple Developer account. See the debugging documentation for guidance in creating provisioning profile and certificate: https://community.neptune-software.com/documentation/debug-ios-mobile-client
Double-click the certificate to install it into the Keychain. Choose Login as keychain location.
Install Xcode
Download and install Xcode from the Apple App Store. Read this documentation from Cordova:
Install Xcode command line tools
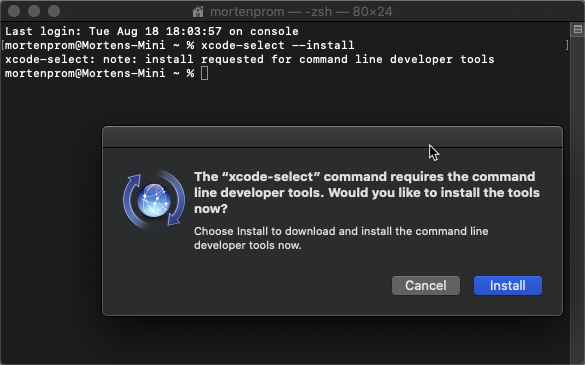
Install the Xcode command line developer tools in a terminal:
xcode-select --install

Install Homebrew
Install Homebrew: https://brew.sh/
/bin/bash -c "$(curl -fsSL
https://raw.githubusercontent.com/Homebrew/install/master/install.sh)"

Build and download Neptune Mobile Client
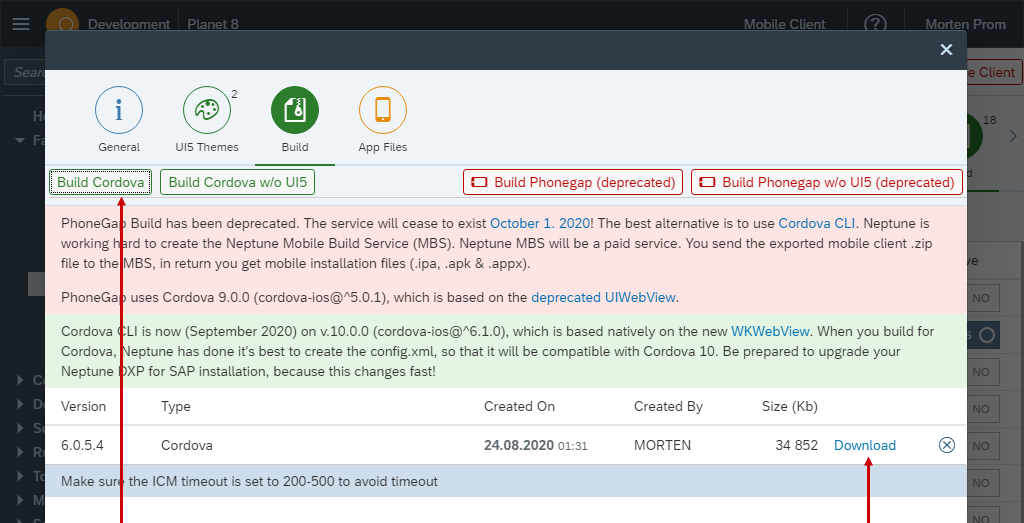
Build your mobile client. Choose Build Cordova in the Neptune Cockpit Mobile Client Configuration. When done, download the .zip file.
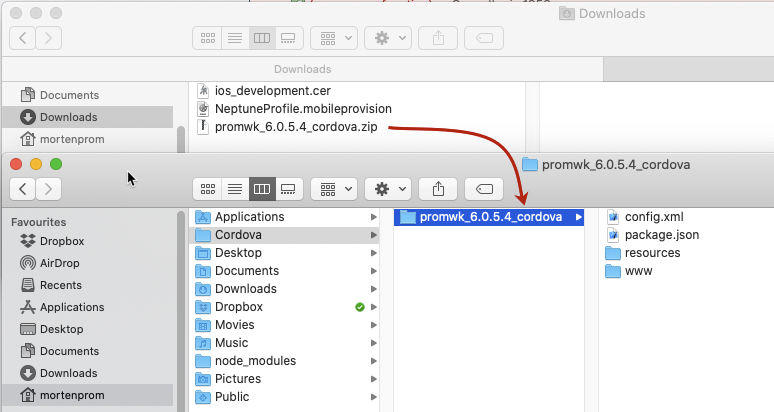
Create a dedicated Cordova project folder on your Mac, so that you always have good control of your builds.
Extract the downloaded .zip file into your Cordova project folder.
In a pure Cordova project you would now need to create the project, but that is already done. All the files needed to build for iOS, are included in the Neptune Mobile Client export.
Build iOS
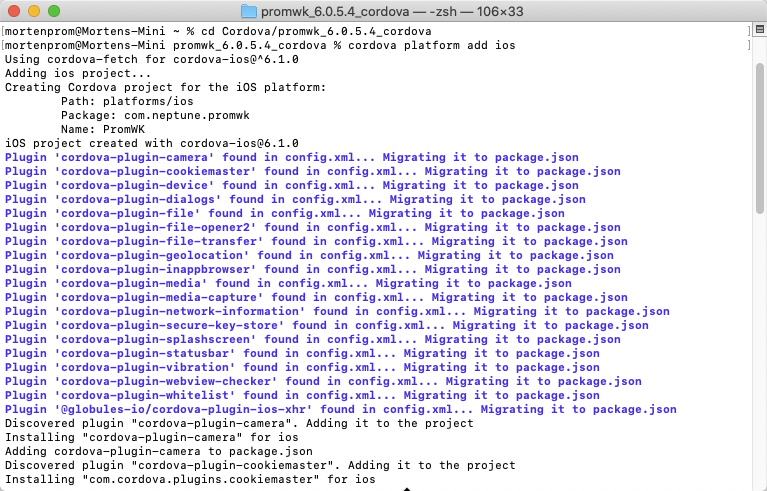
In the terminal, navigate to the Cordova project folder you’ve just added from the .zip file. Cordova in my case:
cd Cordova/
Add iOS platform support.
cordova platform add ios
All the plugins will be added plus a lot of other stuff.
Install fs-extra
npm install fs-extra
Download your iOS developer certificate from the Apple Developer website: https://developer.apple.com/account/resources/certificates/list


Download your provisioning profile too. You can read about how to create developer certificate and provisioning profile here: https://community.neptune-software.com/documentation/debug-ios-mobile-client
Double-click on your downloaded certificate and install it into the keychain. Choose "Login" as location.
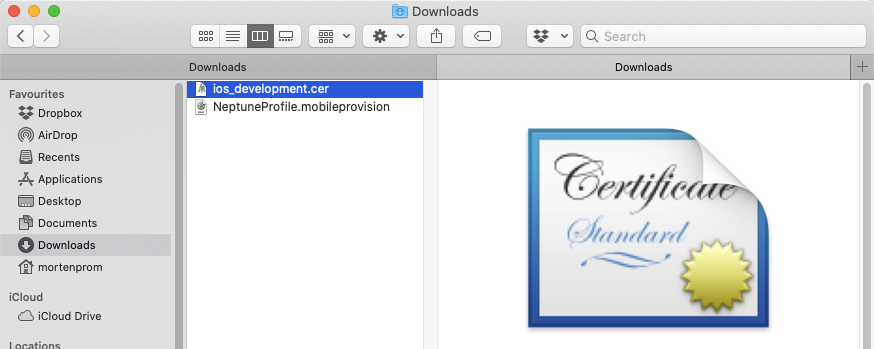
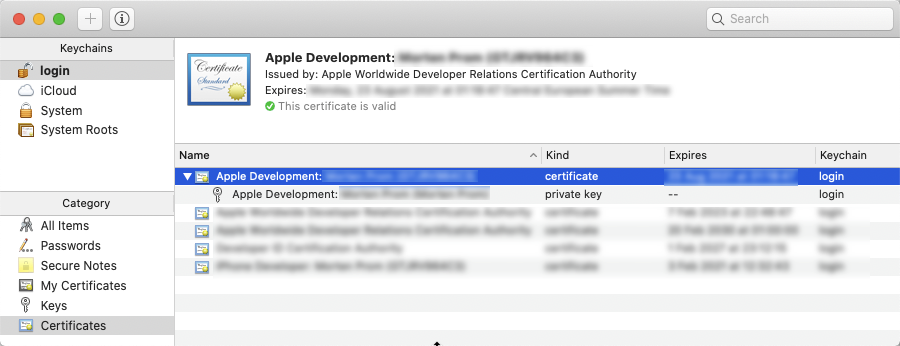
Double-click the provisioning profile, it will be added to Xcode.
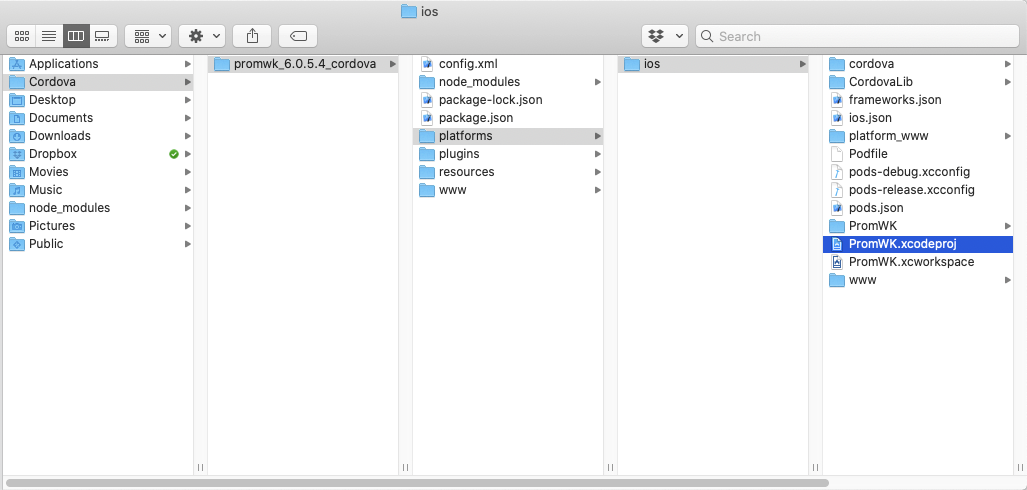
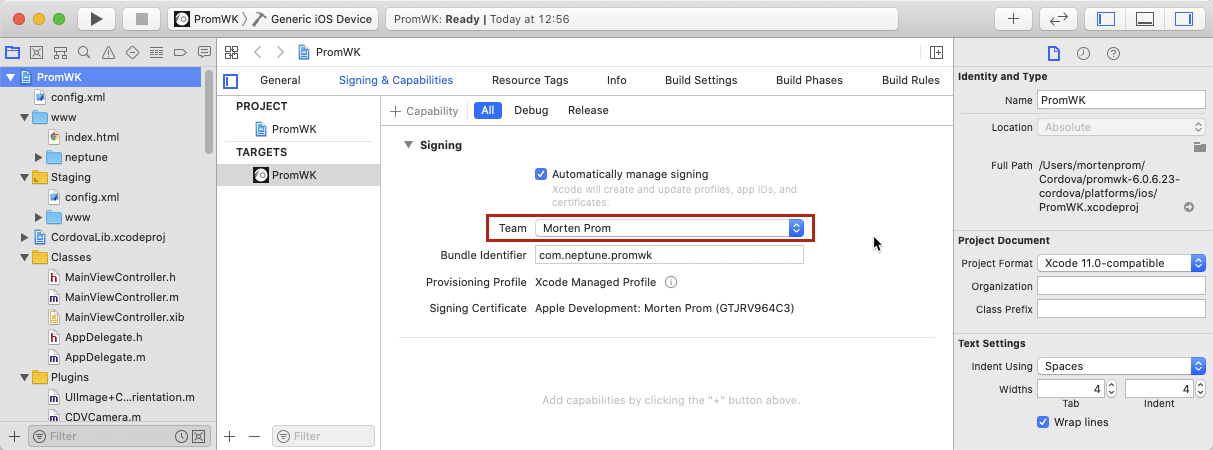
Locate the Xcode project file and open that in Xcode.
Choose your app and "Generic iOS Device".
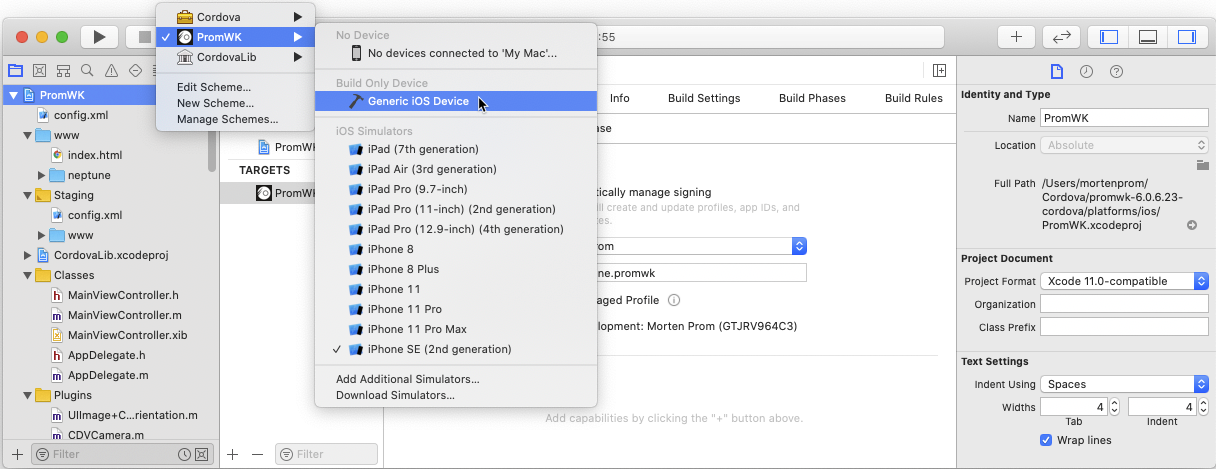
Sign your project with a "Development Team".
Build the iOS project
Back in the terminal in the Cordova project, build the project.
cordova build ios --device --[debug|release]
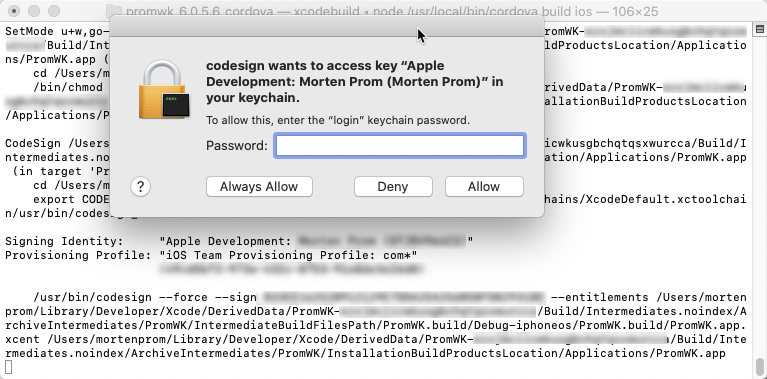
You will need to enter your keychain master password several times, this is NOT the certificate password.
Now your .ipa file has been created. Distribute that to your channels. A good start is to upload the .ipa file to Neptune Cockpit and make it available in the Neptune Catalog.

 Choose: Published: Yes
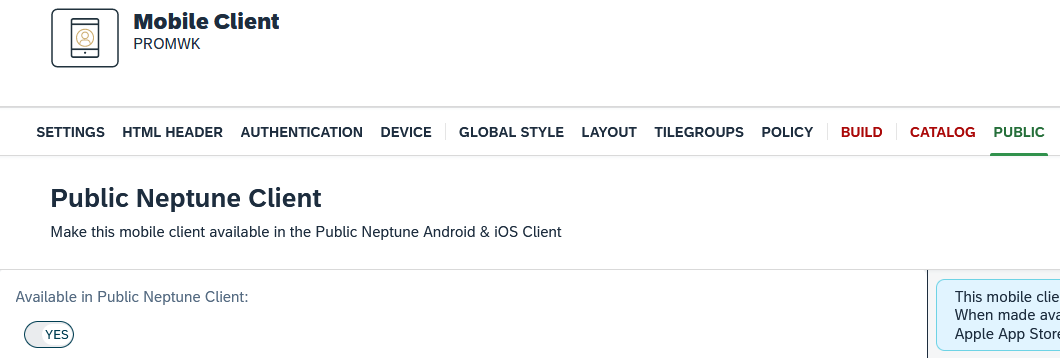 Choose: Available in Public Neptune Client_: Yes
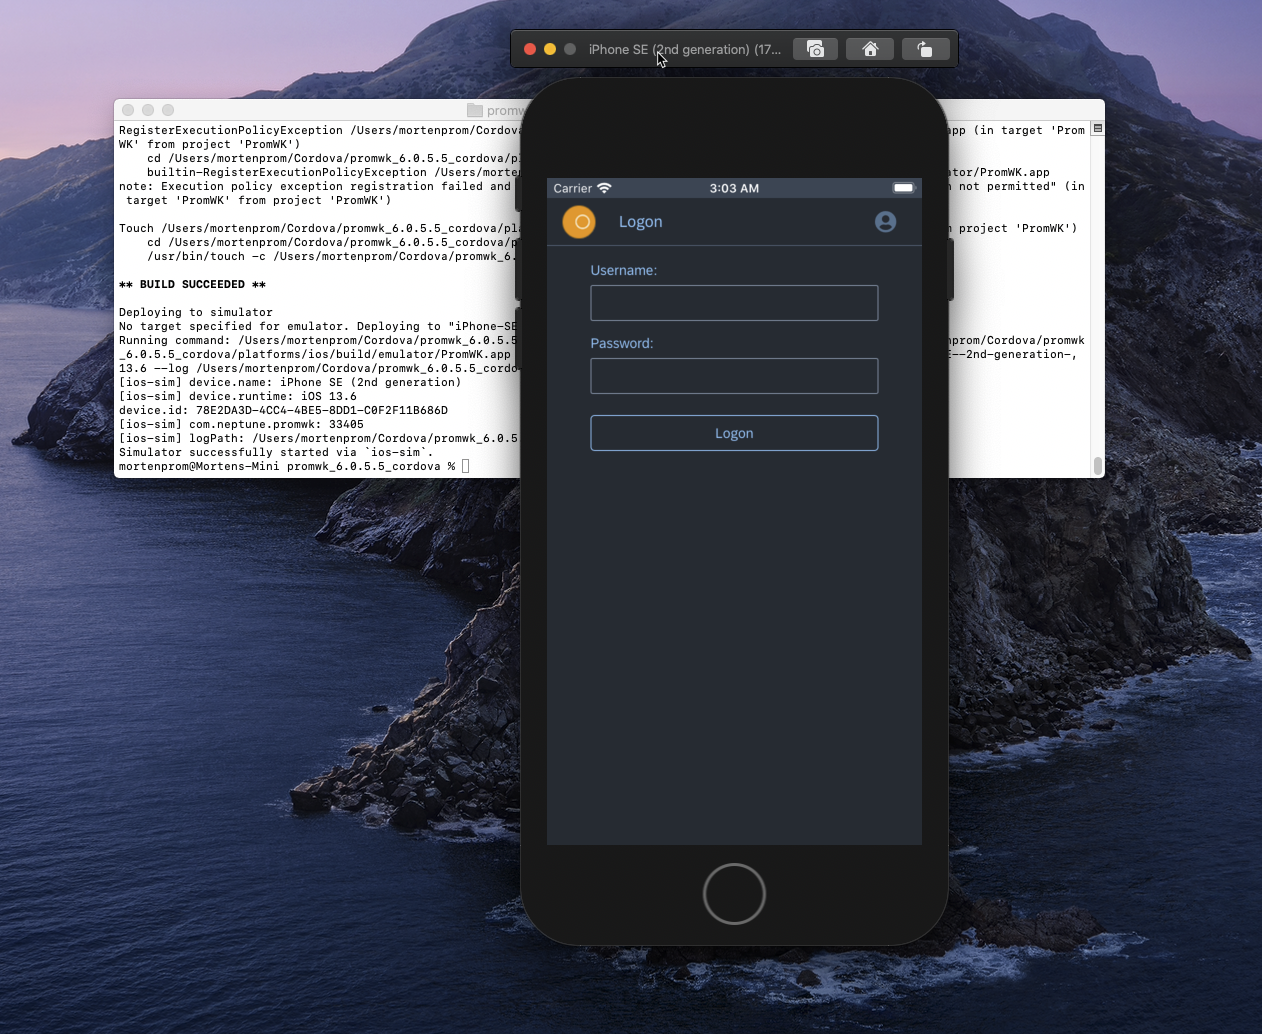
You can emulate the mobile client directly from the terminal
cordova emulate ios
Hardware used in this guide
-
Mac mini (2018) ~ 3.6GHz Quad-Core Intel Core i3, 8GB Ram
-
iPhone SE 2. Gen ~ MX9R2QN/A - 64 GB
Software versions used in this guide
-
Neptune DXP - SAP Edition v.6.0.6
-
macOS Catalina v.10.15.6
-
Xcode v.11.6 ~ 11E708
-
iOS v.13.6.1
-
Cordova v.10.0.0 ~ cordova-ios@^6.1.0
-
node.js v.12.18.3
-
npm v.6.14.6
-
Homebrew v.2.4.13
Check and update Cordova version
You should stay up to date the software used, especially Cordova. Check Cordova version with this command
cordova -v
Check which version is available
npm info cordova version
Update Cordova with this command
npm update -g cordova


